There’s nothing quite like the satisfaction of digging up your own homegrown potatoes—fluffy, earthy, and packed with flavor. But if you’ve ever ended up with a disappointing harvest (tiny tubers, rot, or pest-ridden plants), you know that potatoes need a little more care than just tossing a sprouting spud in the ground.
Whether you’re a first-time grower or a seasoned gardener looking to boost your yield, these tried-and-true tips will help you cultivate the best potatoes of your life.
1. Timing Is Everything: When to Plant
Potatoes thrive in cool weather, so timing your planting is key. In most regions, early spring—about 4–6 weeks before the last frost—is ideal. The soil should be workable and at least 40°F (4°C). If you miss the spring window, a late-summer planting (12 weeks before fall frost) works for a fall harvest.
In warmer climates, like the Deep South or coastal areas, aim for a winter crop instead. Tropical growers? You can plant year-round, but avoid waterlogged seasons.
Pro Tip: Keep an eye on soil temps. Too cold, and your seed potatoes will rot; too hot (above 80°F/27°C), and tuber growth stalls.
2. Picking the Perfect Spot
Potatoes are sun worshippers—they need at least 6–8 hours of direct light daily. The soil should be loose, rich, and well-draining. If your ground is heavy clay, consider raised beds or containers. Sandy soil? Amend it with compost to retain moisture.
Soil Prep:
- Mix in aged manure or compost (6–8 inches deep).
- Aim for slightly acidic soil (pH 5.0–5.5) to prevent scab disease.
- Avoid planting where tomatoes or peppers grew recently—they share pests.
3. Choosing the Right Spuds
Skip grocery-store potatoes (they’re often treated to prevent sprouting). Instead, buy certified disease-free seed potatoes from a garden center.
Sprouting (Chitting):
- Place seed potatoes in a bright, warm spot (65–70°F) for 2 weeks before planting.
- If cutting larger tubers, ensure each piece has at least one “eye” (sprout). Let cuts dry for a day to avoid rot.
4. Planting Like a Pro
- In-ground: Dig trenches 4 inches deep, spacing early varieties 12 inches apart, late ones 15 inches.
- Containers: Use grow bags, barrels, or stacked tires—just keep adding soil as plants grow.
- No-dig method: Lay potatoes on the soil surface and cover with 6 inches of straw or compost.
Hilling: As plants grow, mound soil or mulch around stems, leaving just the top leaves exposed. This prevents greening (toxic solanine) and boosts yield.
5. Watering & Feeding
- Water deeply once a week—1 inch of moisture is plenty. Overwatering invites rot.
- Fertilize at planting (use a 5-10-10 blend) and again when plants are 6 inches tall.
6. Smart Companion Planting
Good neighbors:
- Beans & corn—they fix nitrogen and deter Colorado potato beetles.
- Horseradish—repels pests naturally.
Avoid planting near:
- Tomatoes, eggplants, or raspberries (they attract blight and beetles).
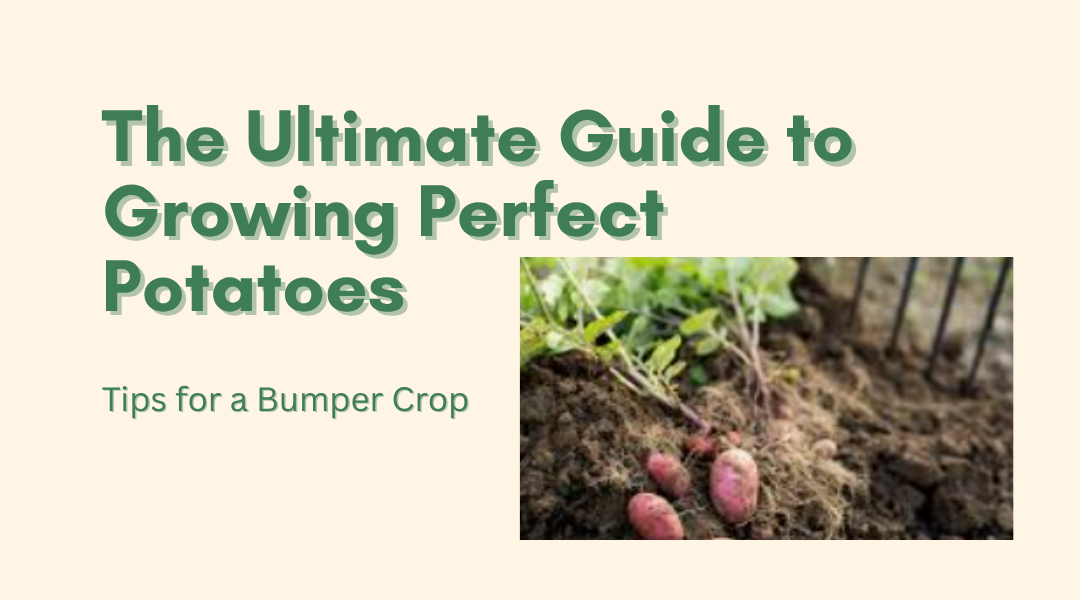
7. Harvesting for Maximum Flavor
- New potatoes: Dig gently 2–3 weeks after flowering.
- Mature potatoes: Wait until foliage yellows and dies back. Cure in a dark, dry place for storage.
Final Thought: Patience Pays Off
Growing potatoes isn’t complicated, but the little details—proper hilling, smart watering, and crop rotation—make all the difference. Stick with these tips, and you’ll be rewarded with a cellar (or pantry) full of homegrown spuds that taste infinitely better than store-bought.